PCT gear review: the Big Three
Hiking the Pacific Crest Trail is a test of willpower above all. Beyond that, some elements can make or break your thru-hike: pacing yourself so you don’t get injured, managing your ravenous hunger, and carrying sufficient equipment to live outside for 4-5 months, but not so much gear that your pack weighs you down.
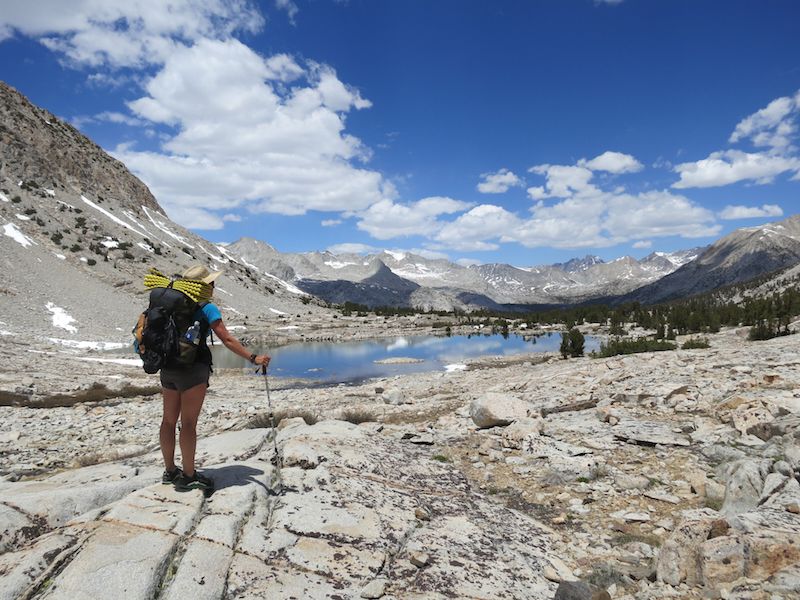
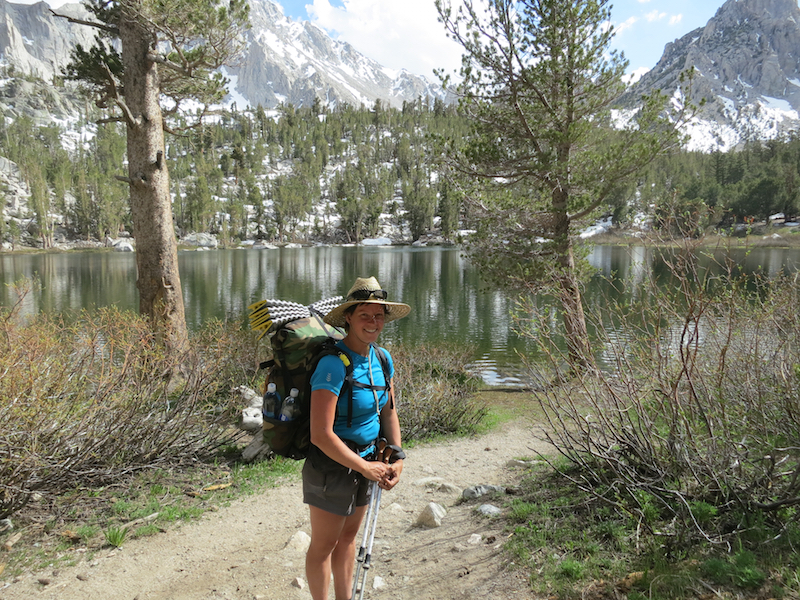
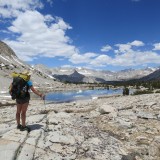
Contemplating Lake Marjorie after climbing Pinchot Pass in the High Sierra, with my ULA Circuit Pack and Therm-a-Rest Z Lite sleeping pad on display.
In this PCT gear review, I’ll discuss the items I used during my 2014 thru-hike for the Big Three: pack, shelter, and sleep system.
Stay tuned for a review of the rest: food prep & cooking gear, water treatment, med kit, snow equipment, electronics, and everything else.
A common thru-hike gear story (cough cough Wild cough) is the one where the hiker starts with a crazy heavy backpack, and sheds weight as they go. This was not my story. I started with the lightest set-up I could manage, and added weight as I went, for a few reasons:
- I wanted to make the beginning of my hike as manageable as possible. While I had hiked the 250 mile JMT the year before, I had been doing a lot of sitting over the winter, and I would only be getting into trail shape on the trail. Having less weight to start was a way to make those first few weeks just a touch easier.
- I wanted to see how ultralight I could go. I figured if I needed something heavier duty, or found I didn’t like how minimal an item was, I could swap it out, and at least I would have given it a try. This worked for me because I already had a set of lightweight gear from previous seasons. Picking up a few pieces of ultralight gear didn’t break the bank (no, that was the WM bag…), and let me push my comfort zone.
Every hiker has a different tolerance level for comfort and for carrying weight, and I think one key to an enjoyable hike is finding your own balance. Some people value comfort, and don’t mind schlepping weight, others value comfort but DO mind the weight, and those people have some decisions to make. Then there are those who care little for comfort, and to their retreating heels I say, brava!
You do you.
Personally, I liked finding the places where I didn’t care about weight-based comfort (i.e. my sleeping pad) and cutting weight there, so that I could carry more elsewhere (my sleeping bag).
As for sourcing gear, I bought as much as I could through discount sites like Backcountry.com, and US-based cottage industry retailers like Mountain Laurel Designs, Six Moon Designs, and ULA. With that in mind, jump on in:
Disclaimer: Each item in this review was purchased by me with my own money, or given as a gift. I am not repping any brand here, just sharing the ones that worked for me.
Packing
Backpack
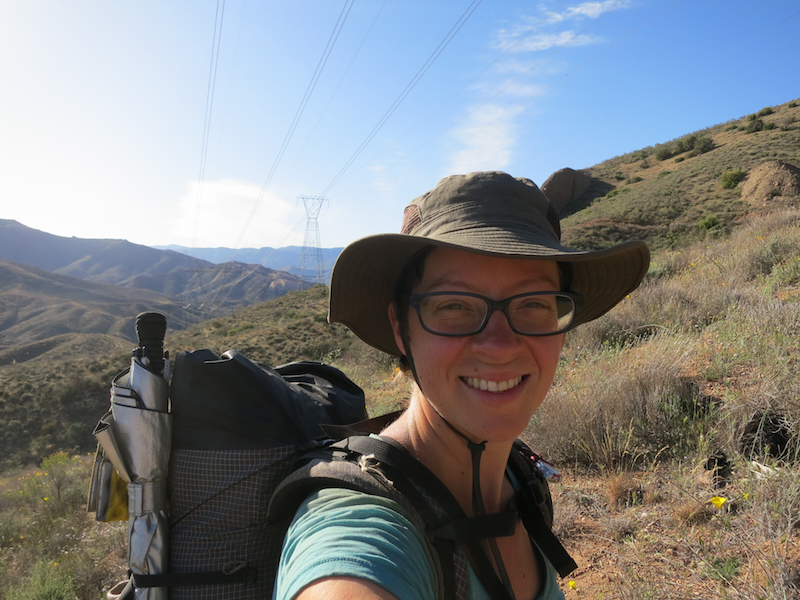
I started out from Campo using a Mountain Laurel Designs Burn pack, size small with the padded belt, women’s straps, load lifters, compression straps on the sides, and two belt pockets. I emailed with the MLD boss, Ron, before the hike to make the customizations, and thought he gave great service. I loved carrying this pack; it was significantly lighter than my ULA Circuit pack, which helped make the beginning of the hike easier.
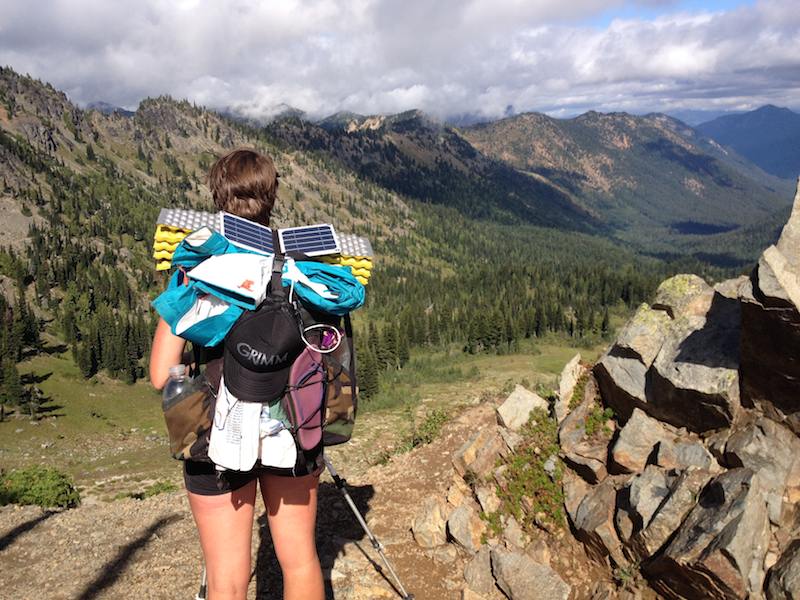
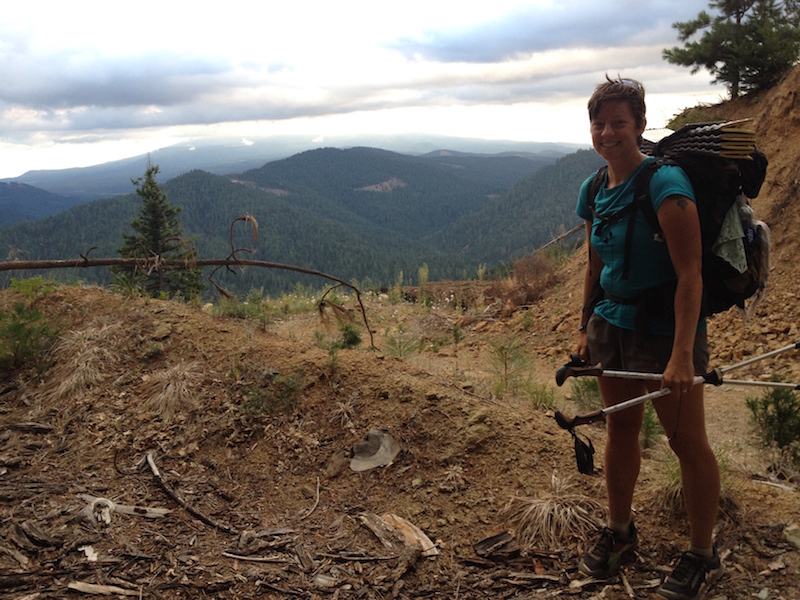
The Burn pack is a frameless pack, which was new for me. I had tried it out for a few overnights before starting the PCT, but it took a few weeks on the trail to learn how to really pack it properly so that the weight carried well. I settled into a routine of putting my Therm-a-Rest Z Lite inside, at the back of the pack as a makeshift frame sheet, and that worked great. It meant, however, that I didn’t have the pad outside the pack for easy sitting at breaks, which was a bummer.
I particularly loved how slender this pack was. I could swing my elbows back and not hit the pack, which made me notice it less. I even learned to get the water bottles out from the side mesh pockets without stopping or taking off the pack (push the bottle up from the bottom, then grab it by the cap).
I had anticipated switching this pack out in the Sierra, to have more volume to accommodate a bear canister. The Garcia Backpacker’s Cache 812 does fit in my Burn pack, but only just. I ended up switching it at Agua Dulce instead, to accommodate the volume of a stove and cookable food. I had been leaving town with grocery bags of voluminous food dangling from the outside of my pack for a few sections, and that there told me that I needed more room.
Russell sent me my trusty ULA Circuit pack at Agua Dulce, and I carried it for the rest of the trail. At first the pack seemed SO LARGE, and then I got used to the size and found things to fill it with. By mid-Washington, I was dangling gear off the back again; I suspect I could fill however large a pack I carried.
The Circuit is a great pack for me. It fits my body well (size small with a medium hip-belt and S-straps), carries weight better than the Burn, and the company provides excellent service. I had purchased the pack for my first JMT section hike in 2012, and used it for my complete 2013 hike as well, so the pack had already gotten good use and a bit of wear, and I knew my way around it.
Eventually, the Circuit’s hip-belt buckle starting popping open both randomly (while hiking down a flat trail) and at inopportune times (while falling down a snowy slope on Glen Pass). It also became too large as I lost belly fat, so I requested a new one when I got to Mammoth Lakes. The folks at ULA offered to send me the malfunctioning part for free, or give me a significant discount on a whole new belt, which I thought was fair, and I took them up on the latter offer. I picked up the new smaller belt in Lake Tahoe and it worked great all the way to the border.
At some point before Tahoe, I felt that the pack was carrying poorly, and checked inside. Sure enough, the hoop strut had busted on one side. I emailed Chris at ULA again, and he express-mailed out a new free strut to my next resupply location (Sierra City). It took me about an hour to wrestle the new hoop into the inside pocket of the pack, but when I managed it and got the pack loaded, it carried wonderfully again. Thanks, ULA!
The Verdict: I loved both packs. The MLD Burn felt so sleek and fast, like I barely had anything on my back. The ULA Circuit carried so well, helping me haul my comfort food and super-warm (read: heavy) sleeping bag up every mountain. I’ll be using the Burn again for summer trips with low volume, or ones with my partner when I’m sharing gear. I’ll probably keep using the Circuit when I want to use my big sleeping bag or have a long food carry. For me, the difference was more about volume than weight. While the Burn hurt my shoulders a bit when heavy, because of the fact that food weight decreases on an hourly basis, total pack weight would drop into a comfortable range quickly.
Pack liner
I used a trash compactor bag as a pack liner, and didn’t use any pack cover. When it rained continuously for hours, rain would seep through the top of my Circuit pack and get my tent (stored at the top, outside of the trash bag) damp. No water made it inside the trash bag, though, and I call that a win. I used the liner throughout the hike since all my insulated gear was down, and I didn’t want to risk soaking everything in a clumsy stream crossing. It never rained while I was hiking with the Burn pack, so I can’t speak to its water resistance.
Every month or so, I swapped the then-dusty and worn bag for a new one. I didn’t find that any brand was substantially better than another.
The Verdict: I see no reason not to keep using a trash compactor bag for a pack liner.
Ditty & dry sacks
My carried clothing lived in an 8L Sea to Summit Ultra-Sil Nano Dry Sack. I never had an immersion event or rainfall day during which water got into my pack liner, so this sack basically acted as an organizer, and pillow. It was great to never have to hunt around for gloves, hat, or long underwear, and with my puffy stuffed inside, this was a bomber pillow.
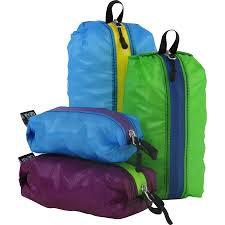
The full set of Granite Gear Air Zippditty sacks. Image from Backcountry.com.
I carried the SM, MD, and LG Granite Gear Air Zippditty sacks for more organization. The small carried my tooth/hygiene kit, the medium carried my tools (compass, spare batteries, patch kit, etc), and the large carried my medical kit. I loved having these separated and easy to recognize, and would organize like that again.
The Verdict: The Sea to Summit Ultra-Sil Nano Dry Sack was great, and I’d buy it again. Same with the Granite Gear Air Zippditty sacks.
Shelter
Tarp & tent
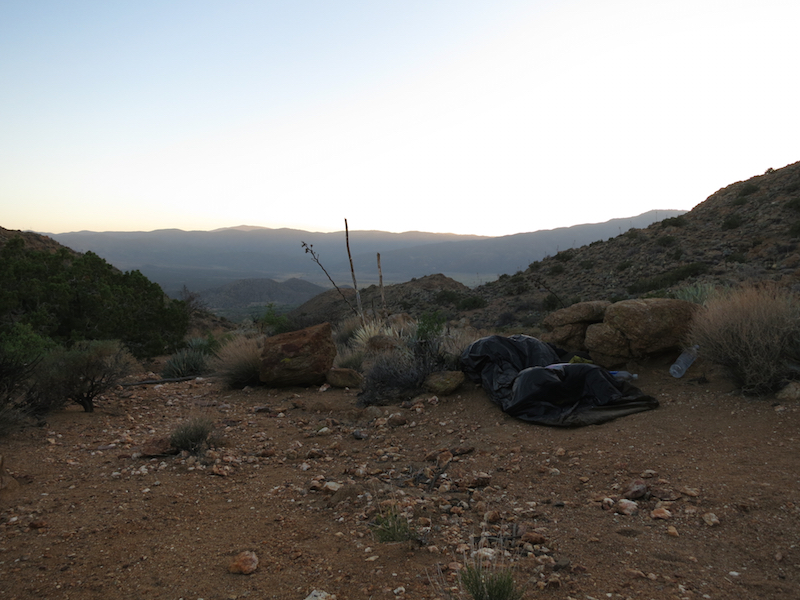
From Campo to Tehachapi, I had approximately three nights of precipitation, and for one of them, I was under a roof. During this dry time, for practical purposes, my shelter was my Mountain Laurel Designs Superlight Bivy. I slept in this bivy every single night, and loved it. It blocked the wind from getting under the quilt, and gave me a secure home feeling on the trail. I left the zipper open while cowboying in a field the night before Warner Springs, and found a deer tick crawling across my quilt; I slept with it zipped every night thereafter. I thought I might feel claustrophobic, or accidentally suffocate myself with the fabric next to my face, but I got quickly got used to it.
When I found chew marks on my trekking pole straps and umbrella, I started keeping those in the zipped bivy with me at night, and they fit next to me with no problems.
Besides the bivy, I was carrying the Mountain Laurel Designs Silnylon Pro Poncho, with Kelty triptease guylines cut to size and pre-knotted with bowlines & slipknots, and an assortment of MSR Groundhog Tent Stakes and Vargo Titanium Tent Stakes (shepherd’s hook). I only set it up the two times — once because it looked like it might rain, and basically for practice, the night out of Warner Springs. The next time was at the end of a long day, climbing out of Cajon Pass to Guffy Campground; the last few hours of walking were in the middle of a cloud.
When I got to camp at Guffy, I was mildly hypothermic (some shivering, loss of manual dexterity, blue lips, feeling anxious), and my fingers couldn’t manage the knots to set up the tarp. Luckily, my hiker buddies Backup & Waterfall were camped right nearby, and Backup got out of her tent to help me do my setup. THANK GOODNESS.
Without Backup, I think I would have wrapped myself in the tarp and tried to sleep burrito style. Even with the tarp edges pitched as low to the ground as we could manage, I spent the whole night shivering in my quilt & bivy. The next morning, I made an unplanned stop in Wrightwood to warm up, eat some hot meals, and email my friend who had offered me the use of her tent for the trail. I picked it up from Russell when he met me in Tehachapi, and used it for the remainder of the hike; I sent back both the tarp and the bivy to save weight.
I don’t regret starting the hike with the poncho-tarp, at all. I also don’t regret switching to the Six Moon Designs Skyscape Trekker. What it came down to for me was inexperience. I took a gamble bringing the tarp, knowing that I hadn’t set it up enough times to make the process automatic, and then I made a few mistakes around ordering and using the tarp. The first mistake was not special-ordering a shorter tarp. When I put on the standard-sized tarp, it came all the way down my 5’5″ frame to my feet, which would have been terrible for hiking in. As the point of a poncho-tarp is that it replaces your rain gear as well as your shelter, having one that wouldn’t work as rain gear was not practical. I had suspected that it would be too long before I bought it, but I was too lazy to go through the custom order process again, despite having gotten great service from Ron at MLD when I custom ordered my pack.
The second mistake was not setting it up every night for practice, so that when I actually needed it, I’d be good to go. If I had done that, custom-ordered a shorter version, and been enough of a masochist to bluster through the first few hard nights, perhaps I would have carried it all the way to Canada. As it happened, when I got home from the trail, I wrapped it up and sold it right away. I will try out tarp camping again, but probably a flat tarp next time, maybe even Cuben fiber.
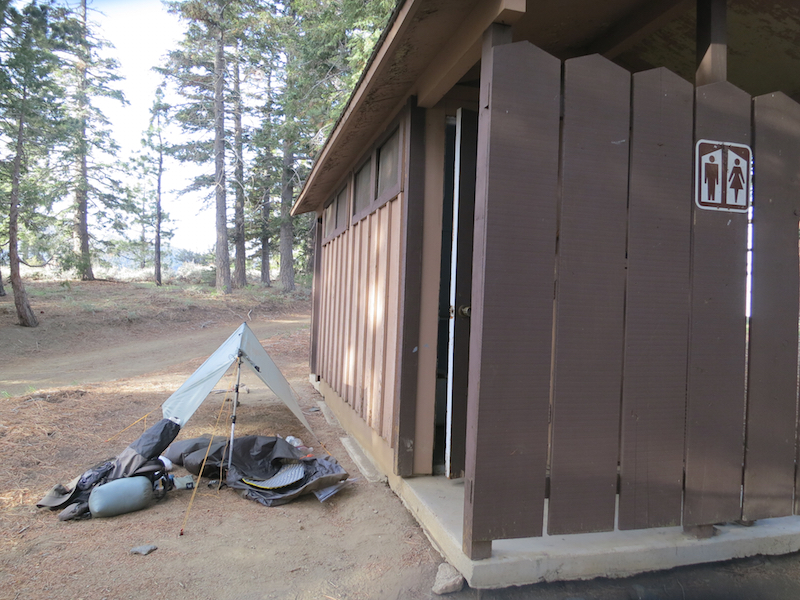
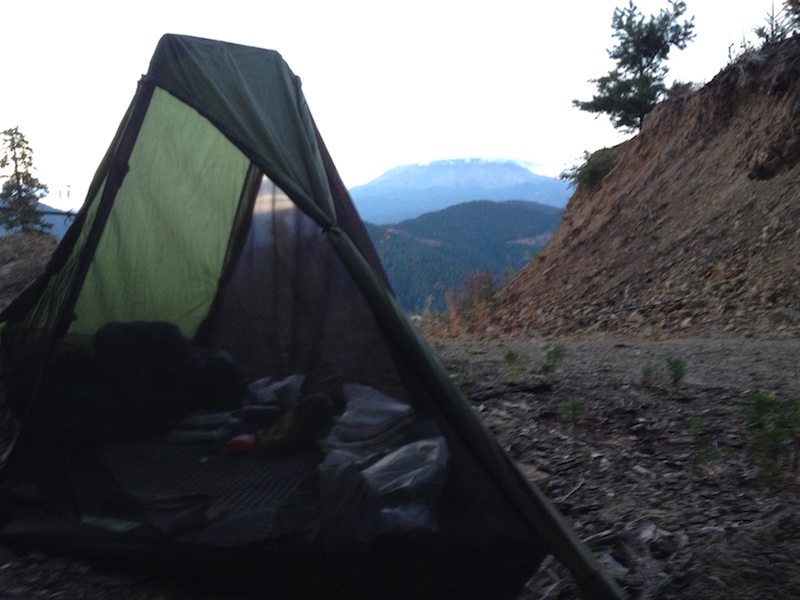
As for the SMD Skyscape Trekker, I loved that thing. It’s a single-walled tarp-tent style shelter that uses trekking poles as supports. It turned out that the rain started as soon as I swapped for it, so I quickly got a lot of practice setting it up. The first night out of Tehachapi, I didn’t tighten the guylines sufficiently, and had to wake up every hour when the storm knocked down a trekking pole support. I never made that mistake again, and the tent stayed standing every night thereafter. I used MSR Groundhog stakes and they held in every sort of ground I encountered.
It took me several hundred miles to realize that I could roll up the opaque sides of the tent and have a *skyscape* view of the stars at night. I did have one night where I had it set up like that when it started to rain, but I managed to hop out of my sleeping bag and get the sides rolled down before my gear got dangerously wet.
My biggest issue with this tent was that the zippers were in a near-constant broken state from partway through the high Sierra, all the way to Canada. The zippers on the door and the door-side vestibule would stop sealing, and my array of hacks only worked a short time each. Body glide seemed to help briefly, then having a seamstress in Mammoth Lakes show me how to crimp the zipper pulls with pliers was useful. I ended up swapping out my pocket knife for one with pliers, expressly so that I could fix my zippers on the go, but even that didn’t work the whole way. It’s a good thing I only had one or two days of bad mosquitos, because I definitely didn’t have a bug-free sleep zone.
This was at least the third season of use for this tent, so I didn’t fault the manufacturer on the zipper issue. It does make me think twice about zippers on a thru-hiker shelter in general, though.
Once I got spooked by the bear outside of Truckee, and then the cougar on Hat Creek Rim, I found myself putting up the tent every night. I liked having a little home away from home. Each item from my pack had its designated spot inside, and I appreciated having an opaque structure in which to change clothes when I camped around other people. I did find myself missing cowboy camping though, and really enjoyed the few nights I did so after getting the tent.
The Verdict: I feel torn on this one. My favorite way to sleep on the trail was cowboying, either with my MLD Superlight Bivy or with just my mummy bag, but I certainly spent way more nights in the SMD Skyscape Trekker. I have plans to get a flat tarp to try out for future hikes, and use that in conjunction with a warm bag and the bivy, but I do highly recommend the Skyscape Trekker for if you like having an enclosed home on the trail.
Groundsheet
I carried a Gossamer Gear Polycryo Groundcloth a couple times on the trail, and it was occasionally useful. When I cowboyed with the bivy, I didn’t use it at all, and I only used it a few times when it looked like rain with the tent. This groundsheet is comically thin and light — I’m pretty sure Gossamer Gear isn’t pranking us by selling marked-up Saranwrap, but sometimes I wondered.
If the ground was not perfectly dry, when I picked up the groundsheet in the morning, it would be covered with tiny bits of bark and dirt, and no amount of shaking would clean it off. Wiping sort of worked, but it’s tricky to wipe down a large piece of thin plastic when you can’t put it on the ground without getting it dirty again. I did my best to camp places that wouldn’t collect water, and was glad that my tent had a solid bathtub bottom, making a groundsheet less essential.
The Verdict: Next time I would just do what I saw a lot of other hikers do: get a piece of Tyvek from a hardware or outdoor supply store, and cut it to fit under my shelter.
Sun shelter
I carried a GoLite Chrome Dome Trekking Umbrella from the border to Tehachapi. I used it about three times, then got trekking poles, and no longer wanted to give up a hand to holding the umbrella. The last time I used it was while crossing the aquaduct, and halfway through that walk, I decided I’d rather have the added speed my trekking poles gave me than the shade from the umbrella.
The thing with hiking with an umbrella is that you have to be constantly turning it to shade yourself from the also-moving sun, as well as angling it to not be catching the wind. I had actually busted one strut of the umbrella in some high wind the very first time I tried it out, before the trail. My toothpick and duct tape fix held up for the 550 miles of the desert, but I was always conscious of breaking it again. I also had a nighttime incident with rodents sometime before Deep Creek — they ate the entire wrist strap off the umbrella, and gnawed chunks out of the handle.
I might try an umbrella again, if I were diligent enough to rig up a hands-free attachment to my pack. Even that wouldn’t resolve the wind/sun angle issues, so I suspect they are just not for me. I will note that I didn’t nap in the heat of the day, and I understand that having an easy shelter for naps is one of the big boons of carrying an umbrella.
The Verdict: I prefer a wide-brimmed hat for sun protection to carrying a trekking umbrella.
Sleep system
Sleeping bag
From Campo to Kennedy Meadows, I used my size SM Katabatic Palisade 30°F quilt. This is a fantastic quilt, and, in conjunction with my bivy sack, kept me warm all throughout the desert. Since it’s a quilt, it was easy to get air flow to keep me cool on the rare warm nights; it also wasn’t hard to clip it to the 2mm cords attached to my sleeping pad to prevent drafts. It did take me a week or two to realize that I should be using the clips further from the edge of the bag for a tighter seal against drafts. The bivy sack prevented any real wind though.
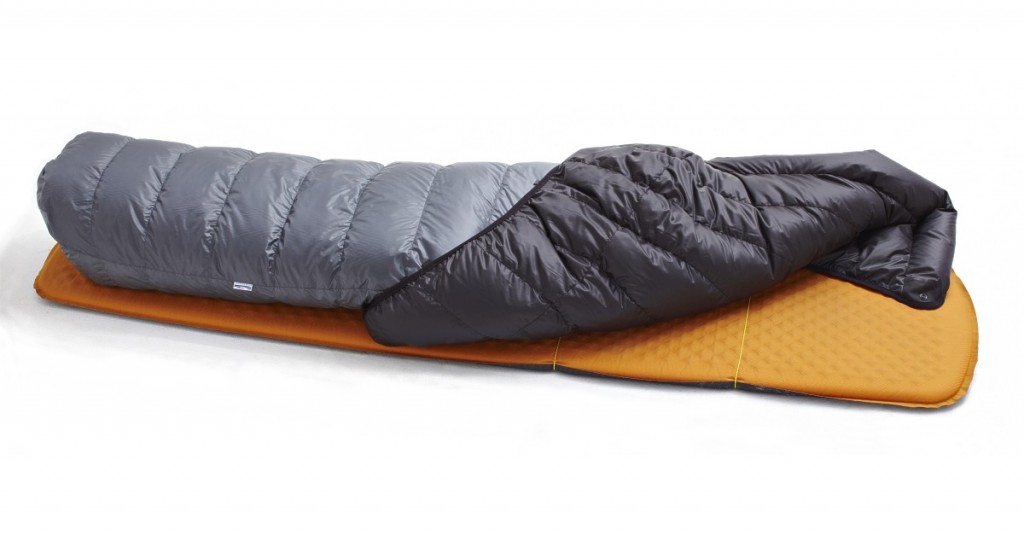
The Katabatic Palisade 30°F down quilt. Image from the Katabatic website.
In Lake Isabella, I decided to move up to a warmer bag for my slightly-early (late May) entry to the Sierra, and had a Western Mountaineering Versalite 10°F down bag shipped to Kennedy Meadows. This bag rapidly became my favorite piece of gear. It kept me warm every single night, including a few nights cowboy camping in the high Sierra. It was actually way too warm in Northern California; I briefly swapped the Palisade quilt back in when I got back on trail at Bartle Gap, but found it too cold, so returned to the Versalite when Russell met me in Etna.
Sleeping in the Versalite feels like sleeping in a warm fluffy cloud. I toss and turn like a rotisserie chicken while sleeping (back-side-back-side-front-side-back), and the Versalite kept me warm and cosy through all that. I had thought I might feel cooped up in a mummy-style bag, but I never did.

The Western Mountaineering Versalite 10°F sleeping bag. Image from the WM website.
Both bags would get wet from overnight condensation, sometimes a tiny bit, sometimes a lot. Whenever this would happen, I took advantage of the first sunny patch I came across the next day to dry out the bag. I never didn’t find enough sun to do the drying. YMMV.
The downsides to the Versalite were its weight and volume, and the occasional overheated night. The stuff sack it came with was too large to fit into my Circuit pack. In order to fit all my gear in aroudn it, I’d have to squish it down, then shove it real quick into the bottom of the pack. To remedy this, I picked up a size small Sea to Summit Ultra-Sil Compression Sack in Bishop, and that did the trick. Because I’m only 5’5″, I can fit into the smallest bags (here, the 5’6″ version), which makes them a tiny bit lighter than those my husband for example could use.
A note on sleeping warm or cold: I started the trail sleeping average. I didn’t tend to overheat, but I had never noticed being super cold at night. I had used the Katabatic Palisade 30°F quilt for the entire JMT with my only uncomfortable night being Guitar Lake. A few months into the PCT, I started feeling colder at night, which I attribute to losing some body fat (converting to leg muscle FTW). By the end of the hike, I was a cold sleeper (very much appreciated having a 10° bag in Washington), and that seems to have persisted into my off-trail life, despite regaining some personal insulation.
The Verdict: I absolutely loved my Western Mountaineering Versalite 10°F bag and will personally be carrying it on cold weather trips going forward (with the Sea to Summit Ultra-Sil Compression Sack). It’s voluminous and a bit heavy at 1 lb 14 oz, so if I were made of money and wanted to spec out a very dialed-in PCT, I might try the slightly lighter and smaller WM Ultralite 20°F bag with 5″ loft next time. The Katabatic Palisade 30°F quilt was also great for slightly warmer weather, and inside a bivy sack, and I’ll keep using it for summer trips. I may also try the quilt with a liner to see if that handles slightly colder weather better.
Sleeping pad
The primary functions of a sleeping pad are to insulate your body from the cold ground, and to provide comfort. Secondarily, they can provide structure to a frameless pack, and give you something to sit on. I used a two-season-old Therm-a-Rest Z Lite — a folding yellow & silver closed cell foam (CCF) pad. It neither insulated well, nor provided much comfort, but worked great as a framesheet in my pack, and was nice to sit on. I had cut off the bottom two sections so that it came down to my thighs, for weight saving; I used my pack to insulate under my feet at night.
You may be noticing by now that I switched a lot of gear while on the trail. I kept thinking to myself that if I wanted to swap out the Z Lite for a comfier pad, then that was okay, that I didn’t need to tough anything out. And every time I had an opportunity to swap it, I just didn’t feel the need to. I think I sleep better on hard ground than some people, though the lack of padding may have contributed to my eventual hip numbness.
A Therm-a-Rest NeoAir blow-up mattress would have been the same basic weight as my trimmed-down Z Lite, and by all accounts, way more comfortable. I was always reluctant to swap something so simple and reliable for something that made crinkly noises and required set-up and take-down time. I did see many hikers on the trail carrying these, though, and I will probably give one a try sometime, particularly because they are much better at insulating. As long as I had alcohol wipes and a patch kit, holes wouldn’t be a big issue, and I hear you get fast at blowing up and rolling up.
For about a minute, I carried a little Therm-a-Rest Z Seat sitting pad that Lizard gave me. At the time, my Z Lite was inside my pack during the day, acting as a framesheet, so I couldn’t haul it out to sit on, and having the little butt pad was really nice for break-time morale. When I switched packs and carried the Z Lite on the outside again, I couldn’t justify the butt pad anymore and hiker-boxed it.
The Verdict: I have an irrational love for my Therm-a-Rest Z Lite CCF pad, despite it being neither plush nor warm. I would start out with a new one next time, though, or try a NeoAir.
—
And there you have it: pack, shelter, sleep.
Nighttime clothing is part of a sleep system; you can check out my clothing review here.
Stay tuned for my review of the small stuff: food prep, med kit, water treatment, electronics, etc.

Alice! I’ve been enjoying your blog. Thanks for the insight + overview of your evolving system over the course of your hike. I really like how you point out early on that everyone needs to hike their own hike and think seriously about their own needs vs. what works for someone else (something I think is sort of lacking in the online communities these days). I’ve been spending too much time (WAY TOO MUCH TIME) obsessing over a tent (not for the entire PCT, but for life in general + some long section hikes). It’s interesting and shocking to me, because I’ve come to a crazy, amazing realization: While I’m a gram counter and in theory I like to over think all the super cool tarp options, I think I might personally want a mid weight free standing tent option for some trips. SHOCKING! (I get cold so easily, even after backpacking my whole life, and I think maybe that’s just more comfortable to me vs. saving weight with a tarp for every trip).
This was a long and tangential way of saying: I appreciate you pointing out the importance of thinking about your own needs as a backpacker vs. what is the lightest weight trend etc.
Hi Lindsey, it’s great to hear from you. If you come up to Seattle, hit me up and we’ll go for a hike. I feel you on obsessing over grams and the “right” gear. I am of the mind that it’s alright to try whatever you want to try. If you don’t have a good free-standing tent yet, I can pass along that I saw the Big Agnes Fly Creek on the PCT a fair amount, and those who were hiking with it seemed to love it. The free-standing nature was very handy for dumping dirt out of the tent.
I might just have to take you up on that hike! I’m moving to Portland over the summer and am so so excited to explore the PNW. I made a compromise for the husband: We got a Big Agnes Copper Spur 2 (because when I take him, it’s usually more of a chill “pack good food/let’s be super comfy” trip, and it looks super swanky as backpacking tents go) and I’ve ALSO been saving for a Mountain Laurel Designs Patrol Tarp + Bug Bivy option for my more random trips. Best of both worlds
I will check the PCT too next year 2016.
You know what, I’m very much inclined to agree.
Alice,
I am very interested to know if you were able to pack the Burn backpack so that all, or almost all, weight is carried on the hips.
I sent an email to Ron at Mountain Laurel Designs, and he said that he can make a custom Burn with the padded hipbelt of the Prophet or Exodus — I wonder if this would be helpful in carrying all the weight one the hips.
But not having a frame, it seems the pack will slouch. I have never used a frameless pack, it just seems, it must be difficult to pack it so it remains rigid.
Hi Barry, I got a padded hipbelt, which helped make the weight comfortable. You’re right that it can be difficult to pack so that it stays rigid. With practice it becomes habit though. I used my CCF sleeping pad against the back of the pack as a framesheet, which helped a ton. It was only when the pack was at its heaviest, with 5L of water, that it hurt my shoulders. When I kept it within the recommended weight limits and used the hipbelt to distribute the weight, it was fine. Hope that helps!
best paid online jobs from home
#BURAGURU1957@@
https://rextester.com/VYSZ11862
Is Yugioh Duel Links Free Yugioh Duel Links Apk Hack 2024 Yugioh Duel Links Character Skin Hack Yugioh Duel Links Hack iOS No Jailbreak 2024 Yugioh Duel Links Pc Hacks 2024 Yugioh Duel Links Gem Yugioh Duel Links Hack Android Yugioh Duel Links Download Hack 2024 Free Gems For Yugioh Duel Links Yugioh Duel Links Pc Hack 2024 Yugioh Duel Links Hack No Verification 2024 Yugioh Duel Links Hack iOS No Jailbreak Yugioh Duel Links Free Gems 2024 Yugioh Duel Links Gems Hack
Yugioh Duel Links Hack Pc Free Gems For Yugioh Duel Links Yugioh Duel Links Pc Hack
Yugioh Duel Links Hack No Verification
Premium domain for sale admiral-x1j.ru
https://autosalonstoletov.ru/user/FidelDT/
I swear to God he levitated: I have a friend who I’ve known since I was very little. One day, when he was six, I was at his house when he got this absolutely god-awful stomach pain. I mean, he was literally writhing in pain. So, his mom took him to the doctor’s office, where the doctor took one look and told her to take him to the ER. She feared something along the lines of an intestinal rupture. About half way to the hospital, my friend suddenly let rip the loudest, most powerful fart any of us had ever heard. I swear to God he levitated. We thought the upholstery in the car seat had ripped. After a good 30 seconds of intense farting, he looked at his mom and said, “I feel all better now!. More stories here https://is.gd/z156DD